How to Make a Christmas Tree Stand in 10 Easy Steps
To make a Christmas tree stand in 10 easy steps, start by choosing a sturdy container that fits your style and measures your tree trunk’s diameter.
Cut a PVC pipe to hold the trunk snugly, then clean and prepare your container.
Next, mix quick-set concrete and pour it around the pipe, securing it upright until it cures.
Once dry, insert the tree, check stability, and adjust as needed.
Follow these steps, and you’ll have a reliable stand ready for holiday decorating.
It’s easier than you might think, and your tree will look great all season long!
Key Takeaways
- Choose a sturdy, appropriately sized container. Measure the tree trunk diameter and height to make sure it fits snugly.
- Cut and clean a 4-6 inch PVC pipe. Then, position it centered and vertical in the container to support the trunk.
- Mix quick-set concrete to a thick consistency. Pour it into the container, insert the pipe, and brace everything until it cures.
- Let the concrete cure for at least 24 hours before putting the tree in. Once set, secure the tree and test its stability by gently shaking it.
- If the tree wobbles, adjust the fit with sanding or tape. Make sure to tighten fasteners regularly, and add supports or weight to keep it stable throughout the season.
Select the Right Container for Your Tree
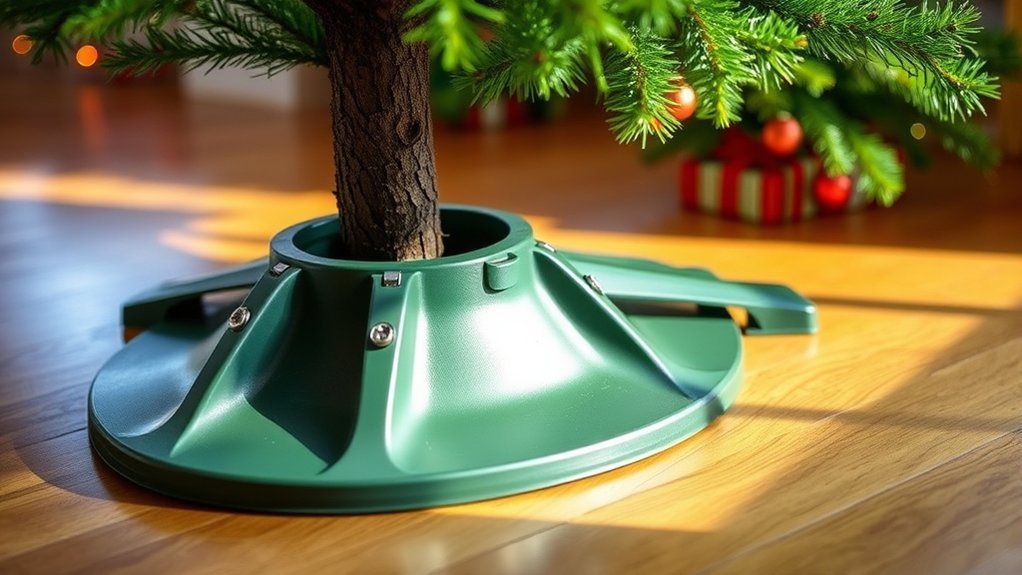
How do you pick the perfect container for your Christmas tree? Start by choosing tree stands that match your decorating style, whether that’s a vintage barrel, basket, or a sleek decorative vessel.
The container needs to be wide enough to hold the bucket or added weights for stability, and it should have a flat bottom to keep your tree secure. Large planters or galvanized buckets work great because you can fill them with concrete or other heavy materials to prevent tipping.
Make sure the container comfortably fits your tree trunk and leaves room for extra support if needed. Beyond functionality, your container should complement your holiday decor theme—rustic, modern, or traditional—so it enhances the overall look.
Picking the right tree stand isn’t just about support; it’s about creating a stylish, stable base that keeps your tree upright and looking festive throughout the season. It’s all about blending style with stability to make your holiday setup shine!
Measure Your Tree Trunk Accurately
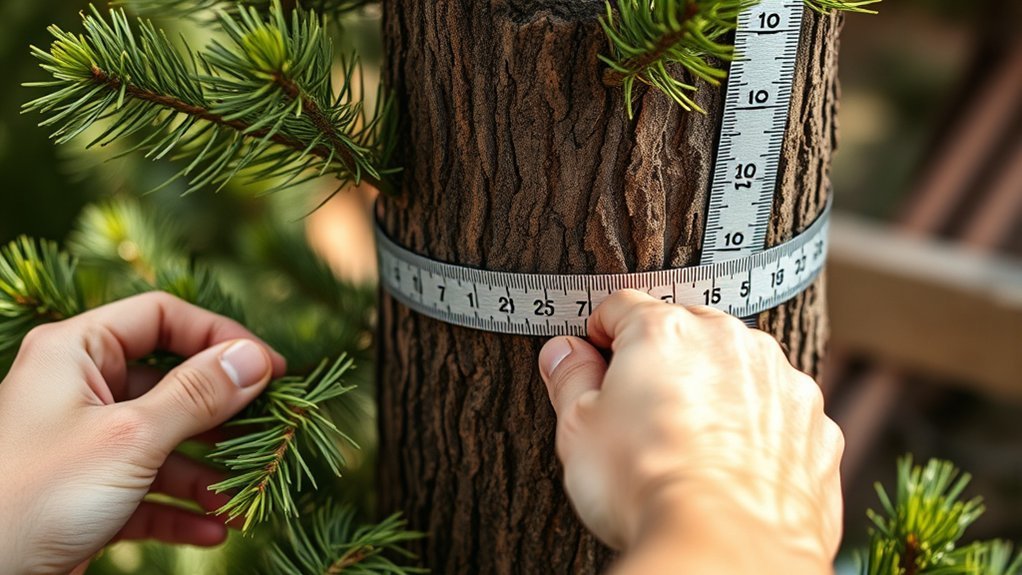
When exactly should you measure your tree trunk to guarantee a perfect fit? You want to do this before selecting or modifying your tree stand. That way, you can make certain it fits securely and supports your tree well.
Accurate measurements help avoid wobbly setups or damage. So, it’s definitely worth taking the time.
To measure your tree trunk precisely, follow these key steps:
- Use a measuring tape to find the diameter at the base of the tree trunk.
- If you only have the circumference, divide it by pi (3.14) to get the diameter.
- Measure the trunk’s height to confirm your stand can accommodate it fully.
- Take measurements from multiple points around the trunk to check for irregular shapes or tapering.
- Use the smallest diameter measurement if the trunk is uneven or oval-shaped.
This helps ensure a snug stand fit.
Cut PVC Pipe to Fit Your Tree Trunk
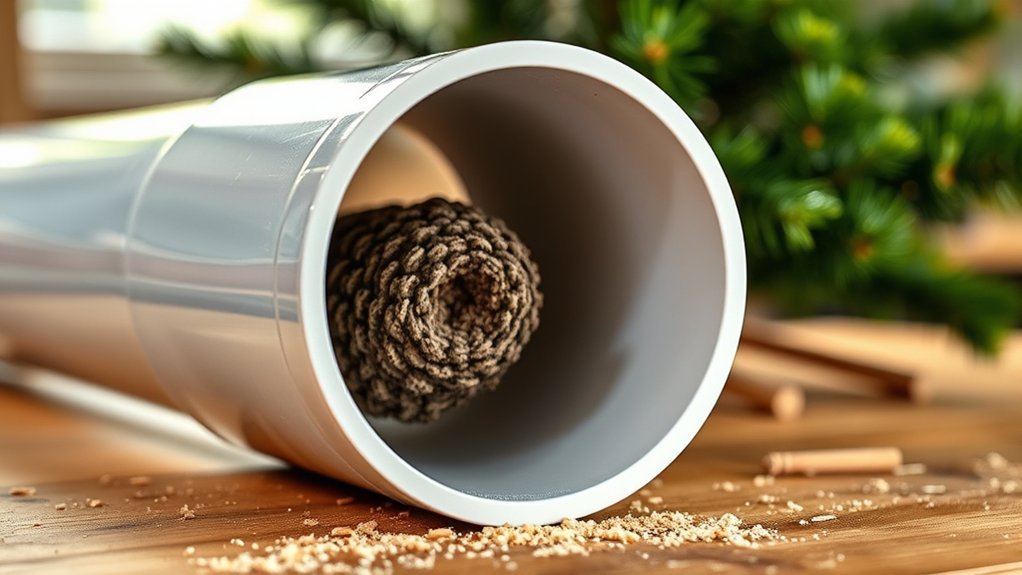
Once you’ve measured your tree trunk’s diameter, it’s time to cut a PVC pipe that fits snugly around it, providing stable support. Using a hacksaw or PVC pipe cutter, cut the pipe to about 4 to 6 inches long—long enough to support your real tree without tipping.
Make certain the cut is clean and straight for the perfect Christmas tree stand fit. Smooth any rough edges to avoid damaging the trunk or interfering with water absorption.
Before securing the pipe in your DIY Christmas Tree Stand, test the fit around the trunk to ensure stability. Whether you’re using a galvanized bucket, plastic bucket, or wooden Christmas tree base, the PVC pipe acts like tree collars, holding the trunk steady.
Ella Claire’s Basket Christmas Tree design shows how a well-cut PVC pipe inside a bucket can create a traditional Christmas look while supporting Christmas lights and decorations every year during the Christmas season. Simply drill holes in the bucket for drainage, and your stand is ready!
Clean and Prepare Your Container for Concrete
Before pouring concrete, make sure you choose a container that’s wide and stable enough to hold your tree securely.
Clean the container thoroughly and check that its base is flat and dry to support the weight without tipping. Also, measure carefully to guarantee the PVC pipe fits snugly inside for a solid hold.
Choosing The Right Container
How do you pick the perfect container for your Christmas tree stand? Start by choosing one that complements your decorating style and has a flat bottom for stability.
The container should be wide enough to hold a 1-gallon plastic bucket, which supports the tree trunk and holds the concrete base. Before you pour the concrete, make sure the container is clean and dry to prevent any issues.
Keep these points in mind:
- Select a container with a flat, stable bottom.
- Confirm the container is large enough for the bucket and concrete.
- Use a 1-gallon plastic bucket inside for support.
- Measure your tree trunk’s diameter for proper support sizing.
- Thoroughly clean and dry the container before use.
This way, you’ll guarantee a sturdy and stylish tree stand every time.
Preparing The Container Base
Although choosing the right container is essential, you’ll need to clean and prepare it thoroughly to guarantee the concrete base sets properly. Start by washing the container with soap and water to remove dirt, dust, or residue.
Make sure it’s completely dry afterward, as moisture can interfere with the concrete curing process. Check that the container has a flat bottom to ensure stability and even support for the concrete base.
Inspect for any cracks or weak spots—if you find any, repair them or select a different container to avoid durability issues. Also, pick a container wide enough to comfortably fit the bucket and concrete, giving your Christmas tree stand the secure support it needs.
Proper preparation now saves headaches later.
Measuring For PVC Pipe
Once you know your tree trunk’s diameter, you can pick a PVC pipe that fits snugly inside the container’s center hole to hold it steady. Measuring accurately guarantees your tree won’t wobble once set.
Use a ruler or tape measure to determine the length of the PVC pipe, making sure it extends above the container for added support. Before installation, clean the pipe thoroughly to remove dirt and manufacturing residues.
Smooth any rough edges to avoid damaging the trunk or container. Finally, double-check the container’s opening to confirm it can fit the PVC pipe along with the base or bucket you’ll use.
- Measure tree trunk diameter precisely
- Select a PVC pipe with a matching snug fit
- Clean pipe with soap and water
- Sand rough edges for safety
- Confirm container opening size compatibility
Mix Quick-Set Concrete to Make a Strong Base
Before you start, make sure to follow the manufacturer’s instructions for mixing quick-set concrete. Usually, this means combining it with water until you get a thick, pourable consistency.
This guarantees the concrete sets properly and provides a solid base for your tree stand. Use a 1-gallon plastic bucket and fill it about three-quarters full with the mixed concrete.
This amount gives your stand the stability it needs to hold the tree securely. While the concrete is still wet, insert your PVC pipe straight into the mix. Make sure it’s level and centered.
This pipe will hold the tree’s trunk firmly in place. To keep the pipe steady, brace it using wooden boards or blocks until the concrete cures completely. Usually, this takes overnight.
This setup guarantees a strong foundation that won’t tip or wobble once your Christmas tree is in place.
Pour Concrete Into the Bucket and Insert PVC Pipe
After mixing the concrete to the right consistency, pour it into your bucket until it’s about three-quarters full. This level ensures the stand will be stable enough to hold your Christmas tree securely.
Next, carefully insert the PVC pipe into the wet concrete. Make sure the pipe is centered and perfectly vertical by checking with a level.
To help you through this step, keep these points in mind:
- Follow package instructions precisely when mixing concrete for optimal strength.
- Fill the bucket to about 75% capacity to balance weight and space.
- Position the PVC pipe carefully, ensuring it stands straight in the concrete.
- Use a level to verify the pipe’s alignment to avoid leaning.
- Support the pipe temporarily with wooden blocks until the concrete cures.
This process sets a solid foundation for your tree stand, making it sturdy and ready for the next steps.
Secure the PVC Pipe and Let Concrete Cure
Make certain you center the PVC pipe in the wet concrete and keep it perfectly vertical using a level. Hold it steady until the concrete starts to set, so it doesn’t shift out of place.
Then, let the concrete cure for at least 24 hours without moving it. This will ensure a solid, stable base.
Positioning The PVC Pipe
When you insert the PVC pipe into the center of your bucket, make certain it stands straight and reaches the height you want for the tree trunk. This step is vital for a balanced and sturdy base.
Here’s how to position it properly: Place the pipe at the bucket’s center and desired height. Use a level to ensure the pipe is perfectly vertical.
Next, pour concrete around the pipe, filling about ¾ of the bucket. Support the pipe with braces or stakes to hold it steady.
Let the concrete cure fully, usually overnight, before removing supports. Following these steps guarantees your PVC pipe is firmly secured and ready to hold your Christmas tree safely.
Ensuring Pipe Stability
Once you’ve positioned the PVC pipe straight and level in the bucket, the next step is to secure it firmly while the concrete sets. Place a level across the top of the pipe to confirm it’s perfectly horizontal.
Before pouring the concrete, prepare wooden braces or blocks to support the pipe’s position. Mix quick-set concrete following the manufacturer’s instructions and fill the bucket about ¾ full around the pipe.
Insert the concrete carefully to avoid shifting the pipe. Then, use the braces to hold the pipe steady, preventing any leaning or tilting.
This support is essential until the concrete cures fully. By doing this, you’ll create a solid, stable base that will keep your Christmas tree upright and secure for the holiday season.
Concrete Curing Time
Although securing the PVC pipe firmly is essential, you’ll need to let the quick-set concrete cure for at least 24 hours before inserting the pipe or placing your tree in the stand. This curing time guarantees the concrete has hardened enough to provide a stable base.
For best results, keep these tips in mind:
- Allow at least 48 hours for full strength and maximum stability.
- Lightly mist the concrete during curing to prevent cracks.
- Avoid disturbing or placing weight on the concrete until fully cured.
- Follow the manufacturer’s instructions closely for curing and care.
- Confirm the concrete surface is completely hardened before proceeding.
Patience here guarantees a sturdy, long-lasting Christmas tree stand you can trust throughout the season. Just give it the time it needs, and you’ll be all set!
Insert the Tree Pole and Check Stability
How do you make certain your Christmas tree won’t wobble or tip over? Start by inserting the tree’s bottom pole firmly into the drilled hole of your cross or support structure. Make sure the fit is snug to prevent any movement.
Once the pole is in place, tighten the screw or bolt securely; this step is vital to hold the trunk firmly and avoid wobbling. After securing it, gently shake the tree to test its stability.
If it moves or tilts excessively, it’s a sign the fit isn’t right. At this point, adjust the support or consider re-drilling the hole for a better fit.
Your tree should stand upright and balanced without leaning. Only when you’re confident it’s stable should you move on to decorating.
This guarantees safety and keeps your Christmas tree looking perfect throughout the holiday season.
Adjust the Fit and Troubleshoot Common Issues
To make sure your tree fits securely, you might need to sand the PVC pipe or add electrical tape to stop it from wobbling. Check that the pipe is perfectly vertical using a level before locking it in place to prevent leaning.
If the tree still feels unstable, adding weight or adjusting screws can help keep it steady. These little tweaks usually do the trick and keep everything safe and sound.
Ensuring Secure Tree Fit
Where should you start when making sure your Christmas tree fits securely in its stand? Begin by measuring the trunk diameter accurately to pick the right PVC pipe or bucket size.
Next, drill a hole in the trunk that’s slightly smaller than your screw or fastener to ensure a tight grip. After securing the tree, give it a gentle shake to test for wobbling or tipping.
If it feels unstable, consider adding supports like heavy materials in the bucket or braces. Don’t forget to recheck and tighten the fasteners periodically throughout the season to maintain a secure fit.
Here’s a quick checklist:
- Measure trunk diameter precisely
- Drill smaller hole for secure fastening
- Test stability by gentle shaking
- Add supports if tree wobbles
- Periodically tighten fasteners
Common Stability Problems
After securing your tree in the stand, you might still notice some wobbling or leaning. To fix this, first verify the PVC pipe fits snugly inside the trunk and stand. Use a level to check if the base and pipe are perfectly horizontal before tightening.
Adding weight like concrete to the base can also help prevent tipping. If instability persists, re-drill or adjust the fit.
Throughout the season, regularly inspect the stand and reposition or reinforce the tree if needed.
| Problem | Cause | Solution |
|---|---|---|
| Wobbling | Loose PVC pipe fit | Adjust or re-drill |
| Leaning | Uneven base or pipe | Use a level, reposition |
| Tipping risk | Light base | Add heavy fillers or concrete |
| Instability | Wear or movement over time | Regularly inspect and reinforce |
Hide the Base and Style Your Tree Stand
Although the tree stand is essential for stability, you’ll want to hide its base to keep your display looking neat and festive. Start by concealing the bucket rim with moss, fabric, or decorative filler to create a seamless look.
Then, add charming elements around the base to enhance the holiday spirit. To keep everything visually appealing and cohesive, consider these tips:
- Wrap the stand with moss, burlap, or fabric that matches your decor theme.
- Sprinkle wood shavings or fake snow for a rustic, wintry touch.
- Layer different fillers for a cozy, intentional look.
- Choose colors and textures that complement your overall holiday style.
- Fluff and adjust the fillers regularly to maintain a polished appearance.
Frequently Asked Questions
How Can I Make a Homemade Christmas Tree Stand?
You can make a homemade Christmas tree stand by cutting a sturdy wooden cross from 1×2 or 1×4 boards, sized to your tree’s height. Drill a central hole through the cross and a smaller hole through the trunk.
Then, insert a long screw to secure the tree upright. For larger trees, add angled braces at 45 degrees for extra stability.
Make sure the base is flat and reinforce it with weights if needed to prevent tipping. This way, your tree will stay steady all season long!
What Can I Use as a Christmas Tree Stand?
You can use baskets, buckets, vintage crates, or decorative planters as Christmas tree stands. If you’re feeling crafty, try making one with wood, concrete, or PVC pipes for a custom fit.
Heavy containers filled with sand or concrete work well to keep your tree steady. Don’t forget to cover the base with fabric, moss, or other fillers to hide the stand and add a festive touch to your holiday decor.
How to Make a Tree Stand Upright?
Did you know that about 80% of Christmas tree accidents happen because the tree isn’t stable? To make your tree stand upright, start by drilling a centered hole in the base and securing it with a long screw or bolt.
If the stand wobbles, try using wedges or supports under its feet. Adjust the tree’s position with a level until it’s perfectly vertical.
You can also add extra ties if needed for more stability. That way, your tree stays safe and steady all season long!
What Can I Use Instead of a Tree Stand?
You can use a large planter, basket, or even a vintage barrel filled with concrete or heavy materials to replace a tree stand. A sturdy wooden crate filled with sand or rocks works too.
If you want a rustic vibe, try a galvanized tub or ceramic pot with weight inside. Just make sure whatever you use is heavy and stable enough to keep your tree upright and safe throughout the season.
Conclusion
Now that you’ve made your own Christmas tree stand, you’re all set to enjoy a sturdy, festive centerpiece.
Did you know that nearly 90% of real Christmas trees are sold with stands that often don’t fit well? By customizing your stand, you’re ensuring better stability and longer-lasting freshness.
With these simple steps, you’ve combined creativity and practicality, making your holiday season safer and more joyful.
Happy decorating!